|
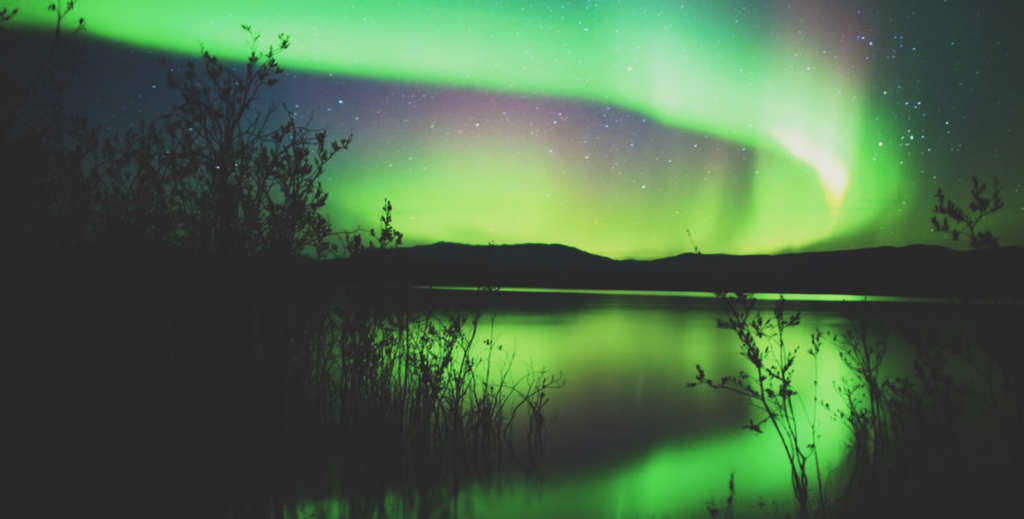
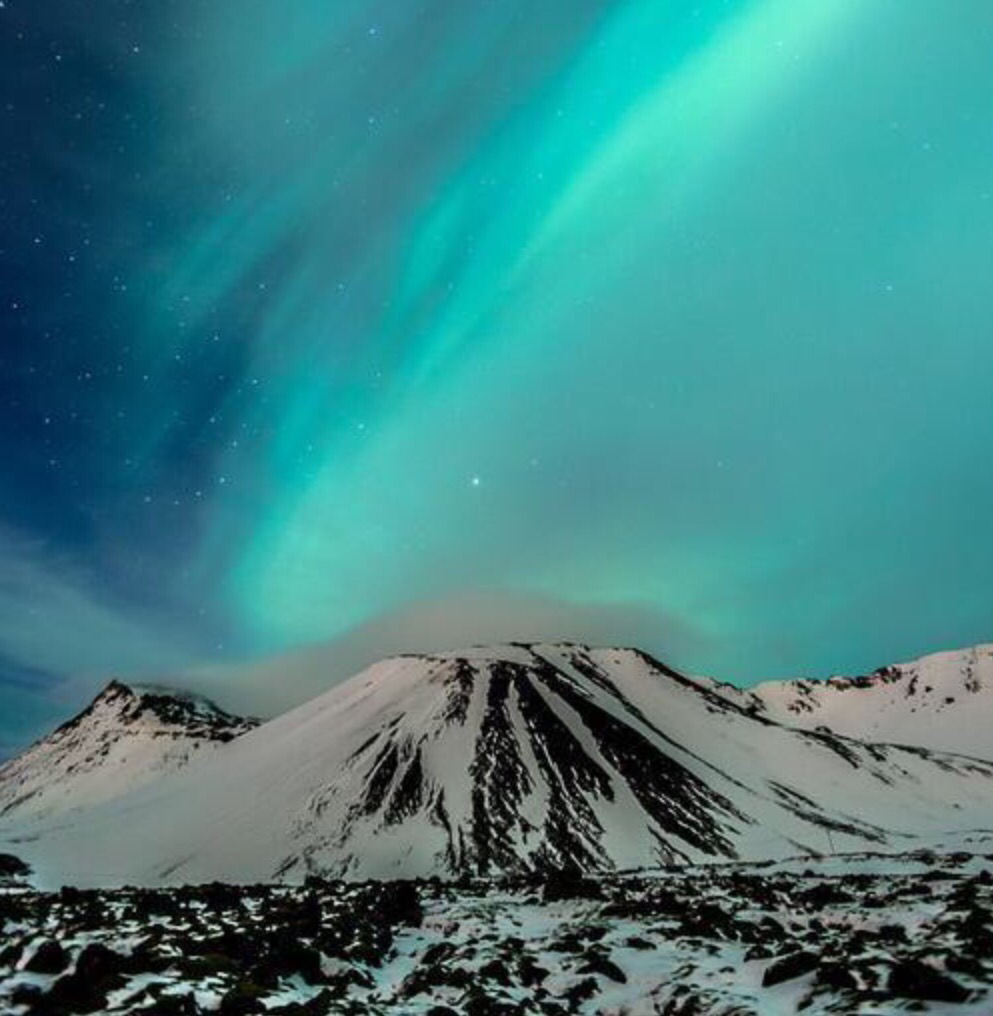
After making several mistakes, I think I may have mastered capturing the northern lights! I had 11 nights outdoor that resulted in some bad and good photography. Don't get me wrong. I am no expert. I am simply a photography enthusiast, but I thought I would share what I have learnt in the past few weeks.
So first thing's first, here what you'll need to photograph;
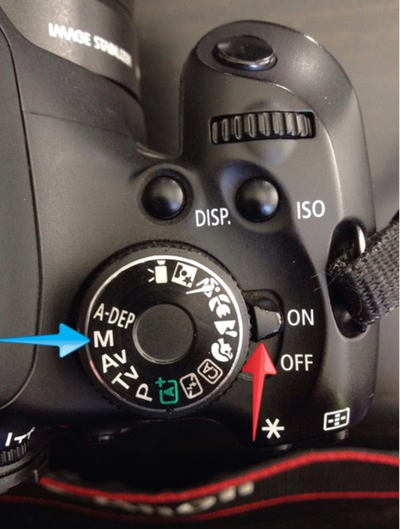
1. Digital camera You need a camera with a manual setting, i.e. 'M' mode on most cameras. This is the only setting that will allow you to manipulate aperture, exposure, shutter speed and the focus. It is my go-to setting and, quite honestly, if you are an amateur, the manual mode is the best way for you to start learning photography through experimentation.
2. Tripod
In order to capture the northern lights, your camera needs to stay still. If you don't have a tripod, the roof of your car will suffice but only of course if your car is absolutely stationary and not vibrating at all. This will stop your photos from being blurry. More often than not, in Iceland, the winter nights are windy, so even a tripod will not be sufficient. If this happens, you may need to use the 10 second self timer setting. I used this setting even when it wasn't windy because my camera kept shaking whenever I would click to take a photo. 3. Warm clothes The northern lights are mostly active during the winter months and they are visible at night only so I suggest you ensure you are equipped to make it through the bitter cold nights outside. Gloves are a must! The last thing you want is to be outside and you can't bear to take your hands out of your pockets to adjust the camera so make sure you are comfortable. Check my previous post on how to dress for Iceland weather. The Arctic chill is no joke. 4. A torch The only way to see the northern lights is for you to be in a dark area so grab yourself a torch so you can see the settings on your camera. I didn't realise this on my first night out trying to capture the northern lights. I kept trying to adjust my camera in the dark and well... I got so frustrated and I completely failed. The phone torch won't work either because you need both hands to adjust your camera and tripod. At least you can put a small torch in your mouth whilst working on your camera. A torch can also be used as a prop in your photo if you know your way around a camera.
So once you've got your equipment, the next thing you need to know is when and where to find the northern lights. In a previous post, I told you about a website and an app that does the work for you regarding the best nights to catch the lights. The first two nights, I went out when the forecast was predicted at 3 out of 10 (moderate), and I saw them on BOTH nights! The colour wasn't visible to the naked eye but having spoken to some locals, I knew to look out for "something that looks like clouds but it keeps moving like it's dancing" (<- direct quote from the landlady whose apartment we were renting in Reykjavik). So basically if the forecast is 3, get yourself out there.
I spent many nights trying to figure out what time to leave and start my chase. In my later days in Iceland, I found another website which forecasts the aurora in the northern hemisphere by the hour http://www.aurora-service.eu/aurora-forecast/ The best time to be out seems to be between 10pm and 2am.
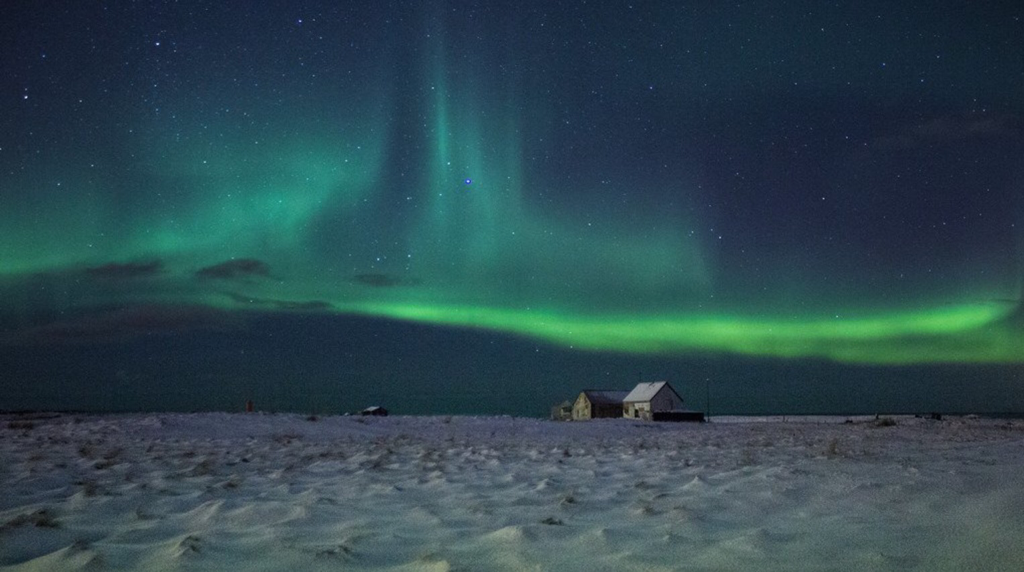
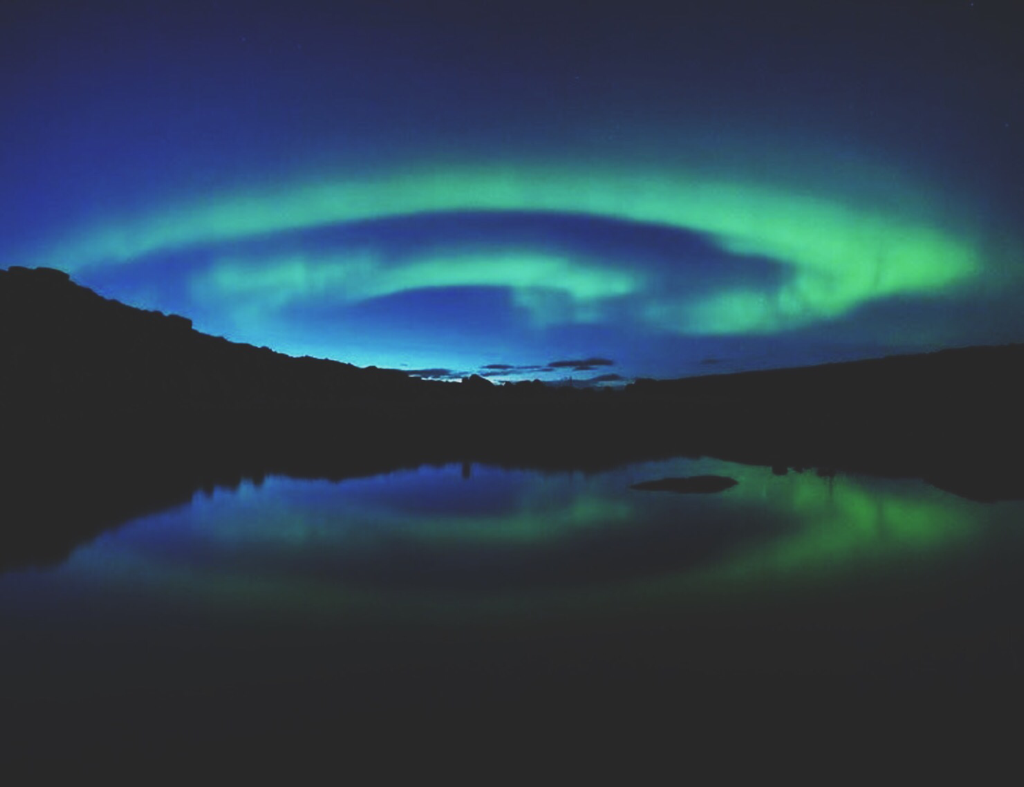
In order to know where to go to see the northern lights, you need only look at various photographs of the northern lights. Most photos are captured near lakes or in the wilderness. The reason for this is that you have more chance of seeing the northern lights in complete darkness, with no other lights disrupting visibility. So it goes without saying, the further away you are from a city or town, the better your chances of seeing the lights.
The next thing to consider regarding visibility of the northern lights is cloud cover. You will not see the lights if the sky is overcast but you will see them in partly cloudy conditions. I remember taking a chance on one cloudy day and driving all night, looking up at the sky to see if we were under clouds. We had to drive almost 2 hours out of town before we were under clear skies. My baby boy was at the back of the car crying from tiredness. What a stressful night! Also this might seem obvious but many people do not consider think about this. Look to the north when looking at the sky! After all, they are called the northern lights.
so after you've found your location, you need to set up your camera and equipment. For those who don't know about aperture, exposure and shutter speed, I'll give you a quick lesson on the 3 pillars of photography.
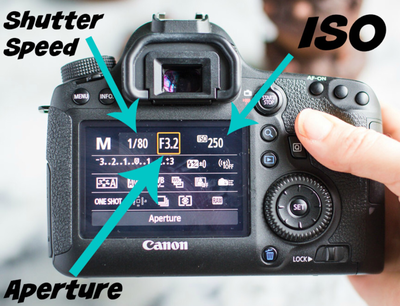
Aperture - how wide do you want the lens to open? The lower the number, the more it opens. The bigger the hole, the more light that reaches the sensor. Shutter Speed - the length of time a camera shutter is open to expose light. A fast shutter speed freezes an action, e.g. Usain Bolt in motion. A slow speed creates a motion blur (not a blurred picture but a blurred motion), e.g. a waterfall blur. ISO - the level of sensitivity of your camera to available light. The lower the ISO number, the less sensitive it is to the light but higher sensitivity adds grain or “noise” to the photo. Here is the setting required for your camera. 1. Set to manual focus. Most people forget to remove the automatic focus. Your camera will not be able to automatically focus on the northern lights. You have to focus the lens. 2. Some cameras come with an infinity symbol. If you have this, set your lens to this mark. If not, don't worry. You will just need to set a low aperture. 3. Switch to manual mode. 4. Set the shutter speed between 15 seconds and 30 seconds. 5. Set a low aperture at f2.8 6. Set a high ISO starting at 3200. 7. Set the self timer Start your settings off from this point then play around with them until you see the lights through live view display on your camera.
If you're keen on photography, go and challenge yourself in Iceland. The northern lights are indescribable. Every night, they were different. Some nights, they weren't visible to the eye but visible on my camera. Other nights, they were so bright, you couldn't miss them. Some nights, they lasted 15 minutes. Others nights, the show went on for an hour. Some nights I'd start hunting for the lights at 9pm and they'd appear at 10pm. Other nights, I'd start hunting at midnight and they'd appear at 2am. It's all about the chase. But when you finally see them... WOW! You have to experience it for yourself.
0 Comments
Leave a Reply. |
|
Proudly powered by Weebly
 RSS Feed